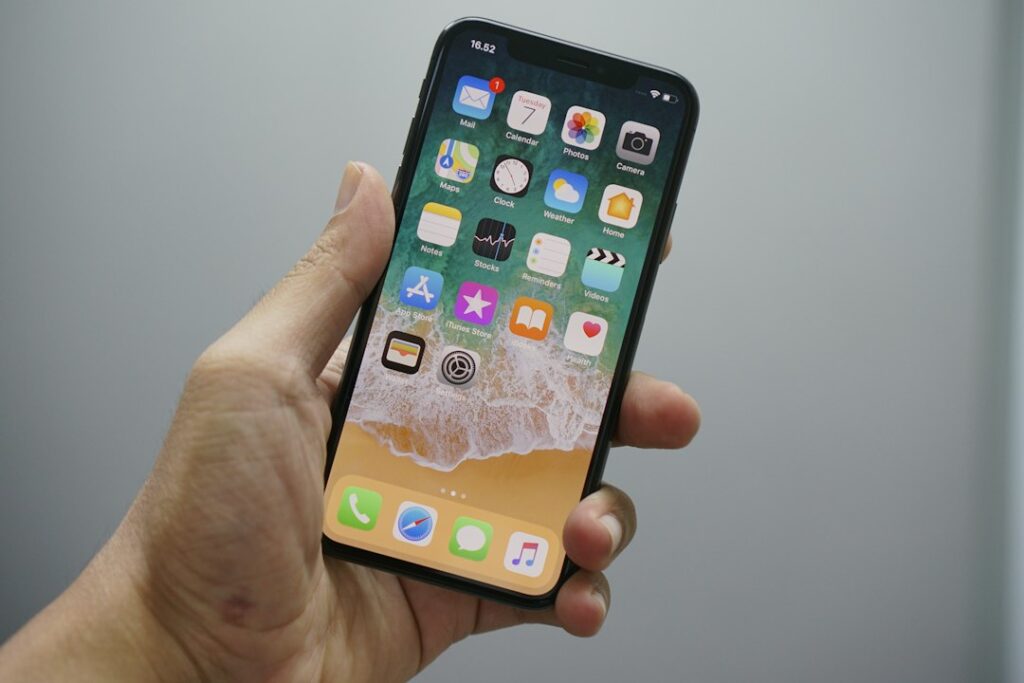
How to use IFTTT starts with creating an account, linking the services you need, and defining a simple “If This Then That” rule. In just a few minutes you can have a weather‑triggered reminder or an automatic photo backup.
Key Takeaways
- IFTTT connects over 1,000 apps and devices without coding.
- An applet consists of one trigger and one or more actions.
- Use the built‑in AI chat to generate applets from plain language.
- Common mistakes include missing permissions and using vague trigger conditions.
- Check your applet regularly; services may change their APIs.

What Is IFTTT and Why Use It?
IFTTT (If This Then That) is a cloud‑based platform that links separate services through automations called applets. When a defined event (the trigger) occurs in one service, IFTTT performs an action in another. The platform supports more than 1,000 services, from Google Sheets to smart locks, and it works without any programming knowledge.
How Do I Get Started?
- Create a free account. Visit IFTTT’s welcome page and click “Sign up”. You can use an email address or a Google account.
- Verify your email. A confirmation link is sent; click it to activate the account.
- Open the dashboard. The first screen shows a quick tour and a prompt to add your first automation.
- Connect services. Click “Add service” and search for the apps you want (e.g., Gmail, Spotify, Philips Hue). Grant the requested permissions; otherwise the applet won’t run.
- Explore ready‑made applets. The “Explore” tab lists popular automations such as “Get the forecast before you get dressed”. You can enable any with one click.
Once you’ve linked at least two services, you’re ready to build a custom applet.
How to Build Your First Custom Applet
- Choose a trigger. Click “Create” → “If This”. Search for the service and select a specific event, like “New email from a specific sender” in Gmail.
- Define the condition. Some triggers allow extra filters (subject contains, label, etc.). Use them to avoid unwanted runs.
- Select an action. Click “Then That” and pick the destination service. For example, “Add row to Google Sheet”.
- Map the data. IFTTT shows placeholders (e.g., {{Subject}}) that you can insert into the action fields.
- Save and test. Give the applet a descriptive name, enable it, and perform the trigger event to verify the action fires.
If the test fails, check the service permissions and the data mapping.
Using IFTTT.ai Chat to Generate Applets
The platform now includes an AI chat interface that turns plain language into a working applet. Type a request like “mute my phone every night at 10:30” and the AI builds the automation, selecting the appropriate trigger (time) and action (phone mute). You can refine the suggestion by adjusting the prompt or editing the generated applet.
AI‑generated applets are especially handy for beginners who aren’t sure which service provides the needed trigger.
Common Mistakes and How to Avoid Them
- Missing permissions. If you connect a service but deny a required permission (e.g., read access to contacts), the trigger won’t fire. Re‑visit the service settings in your account dashboard.
- Overly broad triggers. A trigger like “any new tweet” can generate hundreds of actions per day, exhausting the free quota. Add filters such as specific hashtags or accounts.
- Ignoring rate limits. Free accounts have a limit on the number of applet runs per month. Monitor usage under “Activity” and consider upgrading if you need more.
- Forgetting to enable the applet. After editing, the applet may revert to a disabled state. Double‑check the toggle before testing.
Checklist Before You Publish an Applet
- All required services are connected and permissions granted.
- Trigger conditions are specific enough to avoid noise.
- Action fields contain the correct placeholders.
- Test run completed successfully.
- App name clearly describes the purpose.

Advanced Tips: Using Webhooks and Custom Agents
For workflows that need data not covered by native services, IFTTT offers a Webhooks service. You can send an HTTP request from any app that supports it, then use the data as a trigger in a second applet. Combine this with the AI Agents feature to parse, filter, or transform the payload before the final action.
Example: A smart thermostat sends temperature data to a Webhook; an IFTTT Agent evaluates whether it exceeds a threshold and then triggers a notification to Slack.
How to Keep Your Automations Secure
Because IFTTT holds authentication tokens for each connected service, treat your account like any other credential. Use a strong, unique password and enable two‑factor authentication via the account settings. Regularly review the list of connected services and revoke any you no longer use.
What to Do Next
1. Set up a free IFTTT account and connect at least two services you use daily.
- Build a simple applet – perhaps “Save Instagram photos to Google Drive”.
- Test the applet, then refine it using the checklist above.
For more automation ideas, the Right Scoop blog often highlights productivity tools that pair well with IFTTT.
Real-World Applet Scenarios That Actually Save Time
Abstract advice like “connect apps” doesn’t help you build useful workflows. You need concrete patterns to copy. Below are three high-impact setups that solve specific pain points without requiring complex logic.
1. The “Smart Home Safety Net”
If you use smart locks or cameras, you likely forget to arm them when leaving. Create an applet where the Trigger is “My Location leaves Home Area” (using IFTTT’s location service or a phone-based trigger). The Action should be to lock your smart door and turn on a specific camera.
This removes the decision-making step entirely. The trigger is a geofence; the action is a simple API call. It works reliably because it relies on GPS data rather than manual input.
2. The “Meeting Prep Assistant”
Stop manually creating calendar entries for follow-ups. Set the Trigger to “New Calendar Event Created.” The Action can be to create a new task in your project management tool (like Todoist or Trello) with the meeting title and a default due date of the next morning. This ensures you never lose track of action items discussed in calls. It’s a one-time setup that saves five minutes per meeting.
3. The “Data Backup Bouncer”
If you use a cloud drive for photos, ensure they’re backed up to a secondary location. Trigger on “New Photo Uploaded to Google Photos.” Action: “Upload File to Dropbox” (or another service). This acts as a safety net against service outages or accidental deletions. It’s not instant, but it runs in the background without your intervention.
Why Your Applets Might Fail: The Hidden Configuration Traps
Most IFTTT failures aren’t about broken services; they’re about mismatched data types or ignored edge cases. Here are the three most common silent killers.
- Data Type Mismatches: If your trigger sends a timestamp as a string (“2026-05-01 10:00”) but your action expects a Unix epoch integer, the applet will fail silently. Always check the Documentation tab for each service to see the exact data format required. When in doubt, use a “Text” field and convert it in a custom agent if needed.
- Rate Limiting Ignorance: IFTTT has free tier limits on how many applets can run per day. If you have 50 applets and one triggers every minute, you’ll hit the cap quickly. Monitor your usage in the Account Settings. If you’re near the limit, consolidate applets or upgrade to a Pro plan. Don’t assume “free” means “unlimited” for high-frequency triggers.
- Time Zone Conflicts: IFTTT operates in UTC by default. If your trigger is “At 9 AM” and your action is “Send Email,” but your local time is EDT, the email will go out at 5 AM local time. Always specify the time zone in the trigger configuration or adjust the time manually. This is the #1 complaint from new users.
Choosing the Right Trigger: Webhook vs. Native Service
Not all triggers are created equal. Native service triggers (like “New Email”) are easy but limited. Webhooks give you power but require setup. Here’s how to decide which to use for your specific need.
| Factor | Native Service Trigger | Webhook Trigger |
|---|---|---|
| Setup Complexity | Low (just select service) | High (need to send POST request) |
| Flexibility | Fixed data fields | Custom JSON payload |
| Reliability | Depends on service API stability | Depends on your server code |
| Best For | Standard integrations (e.g., Gmail to Slack) | Custom apps, internal tools, or dev environments |
Use native triggers for 90% of your use cases. They’re maintained by IFTTT and less likely to break. Only use Webhooks if you’re building a custom app or need to pass data that the native service doesn’t expose. If you’re not comfortable with JSON or HTTP requests, stick to native triggers. Forcing a Webhook when a native option exists adds unnecessary maintenance burden.
FAQ
Can I use IFTTT on mobile devices?
Yes. IFTTT offers native iOS and Android apps that let you enable, disable, and monitor applets on the go.
Is there a limit to how many applets I can create?
Free accounts can create up to 5 custom applets, while the platform provides unlimited ready‑made applets. Paid plans raise the custom limit and increase run quotas.
Do I need any coding knowledge to use IFTTT?
No. All steps are performed through a visual interface, and the AI chat can translate plain‑language requests into functional applets.